When adding the drawers to the table frame you're concerned with two measurements: the depth and height of the slide. There are a few factors we want to make sure we cover when installing the drawers.
1. We want the drawer to slide just above the opening, which means we need to leave a gap of about 1/16". I know this doesn't seem like much but these slides are precision and don't sag so when you set a height it stays that height now matter what you put in the drawer.
2. We want to drawers to be able to lock when closed so they don't slide around when you move the table. We need to make sure the face of the drawer doesn't hit the table frame before the drawer is closed so the correct depth is critical.
3. We want the drawer to be level so both slides must be set exactly at the same measurements.
Let's begin by arranging the drawer and the inner slides to the correct orientation. We need to first pull out the inner slides from the slides attached to the table frame. To do this just pull out the inner slides to their full extent. You should now see a black lever about halfway down the slide. Hold this lever up or down, depending on the side you are pulling out, and "slide" out the inner slide piece.
Place the two inner slide pieces next to the drawer in the orientation you want the drawer to slide. You can pick either end of the drawer but I like to pick the side that has the cleanest looking inside that will show when you open the drawer.

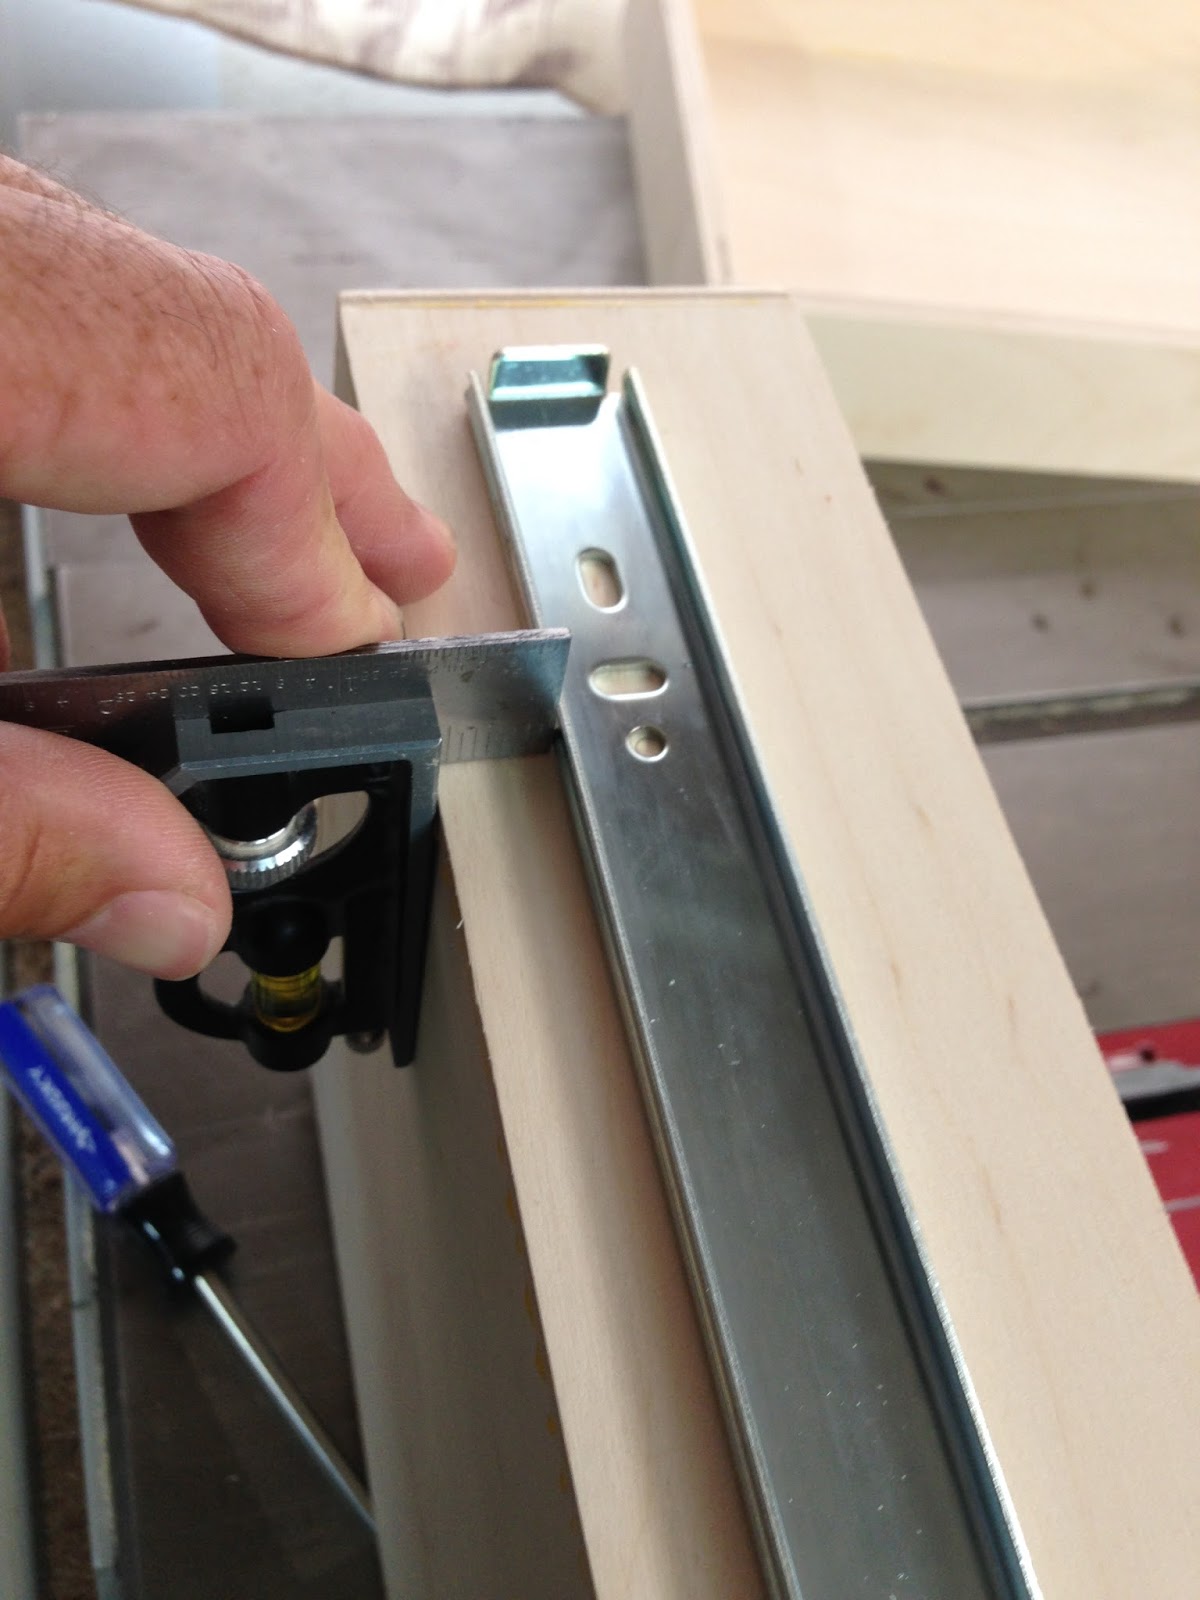
First we'll setup the depth for the inner slide by using a Combination square and setting the depth of the square to the measurement shown below. This measurement is how far back we will set the depth of the inner slide from the front face of the drawer.
CRITICAL: This depth measurement is critical because this measurement sets the face of the drawer so it sits just outside the face of the table frame when closed; this way when you attach the drawer face it won't hit the table frame when the drawer is closed all the way.


Lay the inner slide on the side of the drawer with the bent metal end facing the direction of travel for how the drawer will slide out. Place your Combination square as shown with the ruler touching the front of the inner slide. Take a pencil and mark a line at the front of the inner slide piece.

Now let's set the height of the inner slide. Adjust the combination square to the new measurement below. This is how high the inner slide will be from the bottom of the drawer.


Place the combination square on the bottom of the drawer toward the front edge as shown below and place the bottom edge of the inner slide against the combination square ruler. Make a pencil mark on the drawer under the edge of the inner slide.

Now place the combination square on the bottom of the drawer toward the back edge as shown below and place the bottom edge of the inner slide against the combination square ruler. Make a pencil mark on the drawer under the edge of the inner slide.

With the inner slide in place "adjusted to where the pencil marks are" go ahead and mark the holes where you will drill the hole for the screws. Shown below is where the pencil marks should be on the front and back of the inner slide.


Now remove the inner slide and use a 3/32" drill bit to pre-drill each of the two holes for the inner slide "front and back".
NOTE: Don't drill too far or you'll end up drilling your prep hole through the side of the drawer. You can use a piece of tape around the drill bit to mark off just how far down you can drill before it will drill through the side.


Go ahead and hand screw in the slide screws so they stand on their own, then use an electric drill to tighten them to the drawer. DO NOT OVER TIGHTEN! Make sure you don't over tighten or you will strip the drill hole and you'll have to make another one in another place.


Once you've finished the first side of the drawer go ahead and follow the same procedures as above to complete the other side of the drawer.
Below are all the steps for the other side of the drawer.


Here is the finished drawer installed and pulled out to its full extent.

After you finish the first drawer go ahead and do the same steps for the other three drawers! Check each drawer for its level, range, and make sure you have a little overhang to the front face of the table frame so you can attach the drawer face plate and still close the drawer. Each drawer should lock in place when closed.
In the next post we will cover attaching the drawer face plate to each drawer.
No comments:
Post a Comment