In this post we'll cover the installation of the support pieces that will hold the 14" metal drawer slides. With the extra stock remaining after you've put together the main table frame, you'll need four of the 4" height pieces and of these four pieces we'll cut each one in half to give us the required 8 pieces [2 per drawer]!
If you remember in a previous post I asked you to cut all the remaining stock to 4" in height and the reason for that is all the pieces of the table frame are 4" in height. Plus, since we're cutting four of the boards in half, this will give us 8 pieces that are just under 2" in height; this is perfect for the width of the drawer slides.
First we need to cut the pieces down to a length that will fit in the gap where the drawers fit. Depending on how this the material you used "whether you planed the wood to 3/4" or not" this will determine the actual length of the boards. Measure the gap and cut each of the four boards to that gap. My table gap was just under 15-1/4". When I'm cutting more than one board with the same length I use a stop block to keep the exact measurement for each cut as shown below. Sometimes you gap might just be off by 1/16" so when trying to fill a gap exactly I cut the board a little longer by 1/16" and trim it to size so it fits perfect.
NOTE: Since I'm not planing any of my material down to 3/4" thickness "which I normally would" because not everyone that might do this project has a planer. So I thought I would do this project with measurements of the material as it is purchased 14/16" from the lumber yard. Do to this issues the pieces are usually cut to size instead of me giving you exact measurements that could cause problems if you decided to plane your wood to 3/4" thick.
CRITICAL: Always double check your measurement before you make a single cut!
So in my project, I'm cutting each 4" high piece to 15-1/4" and then I will be trimming them down to fit each gap exactly.
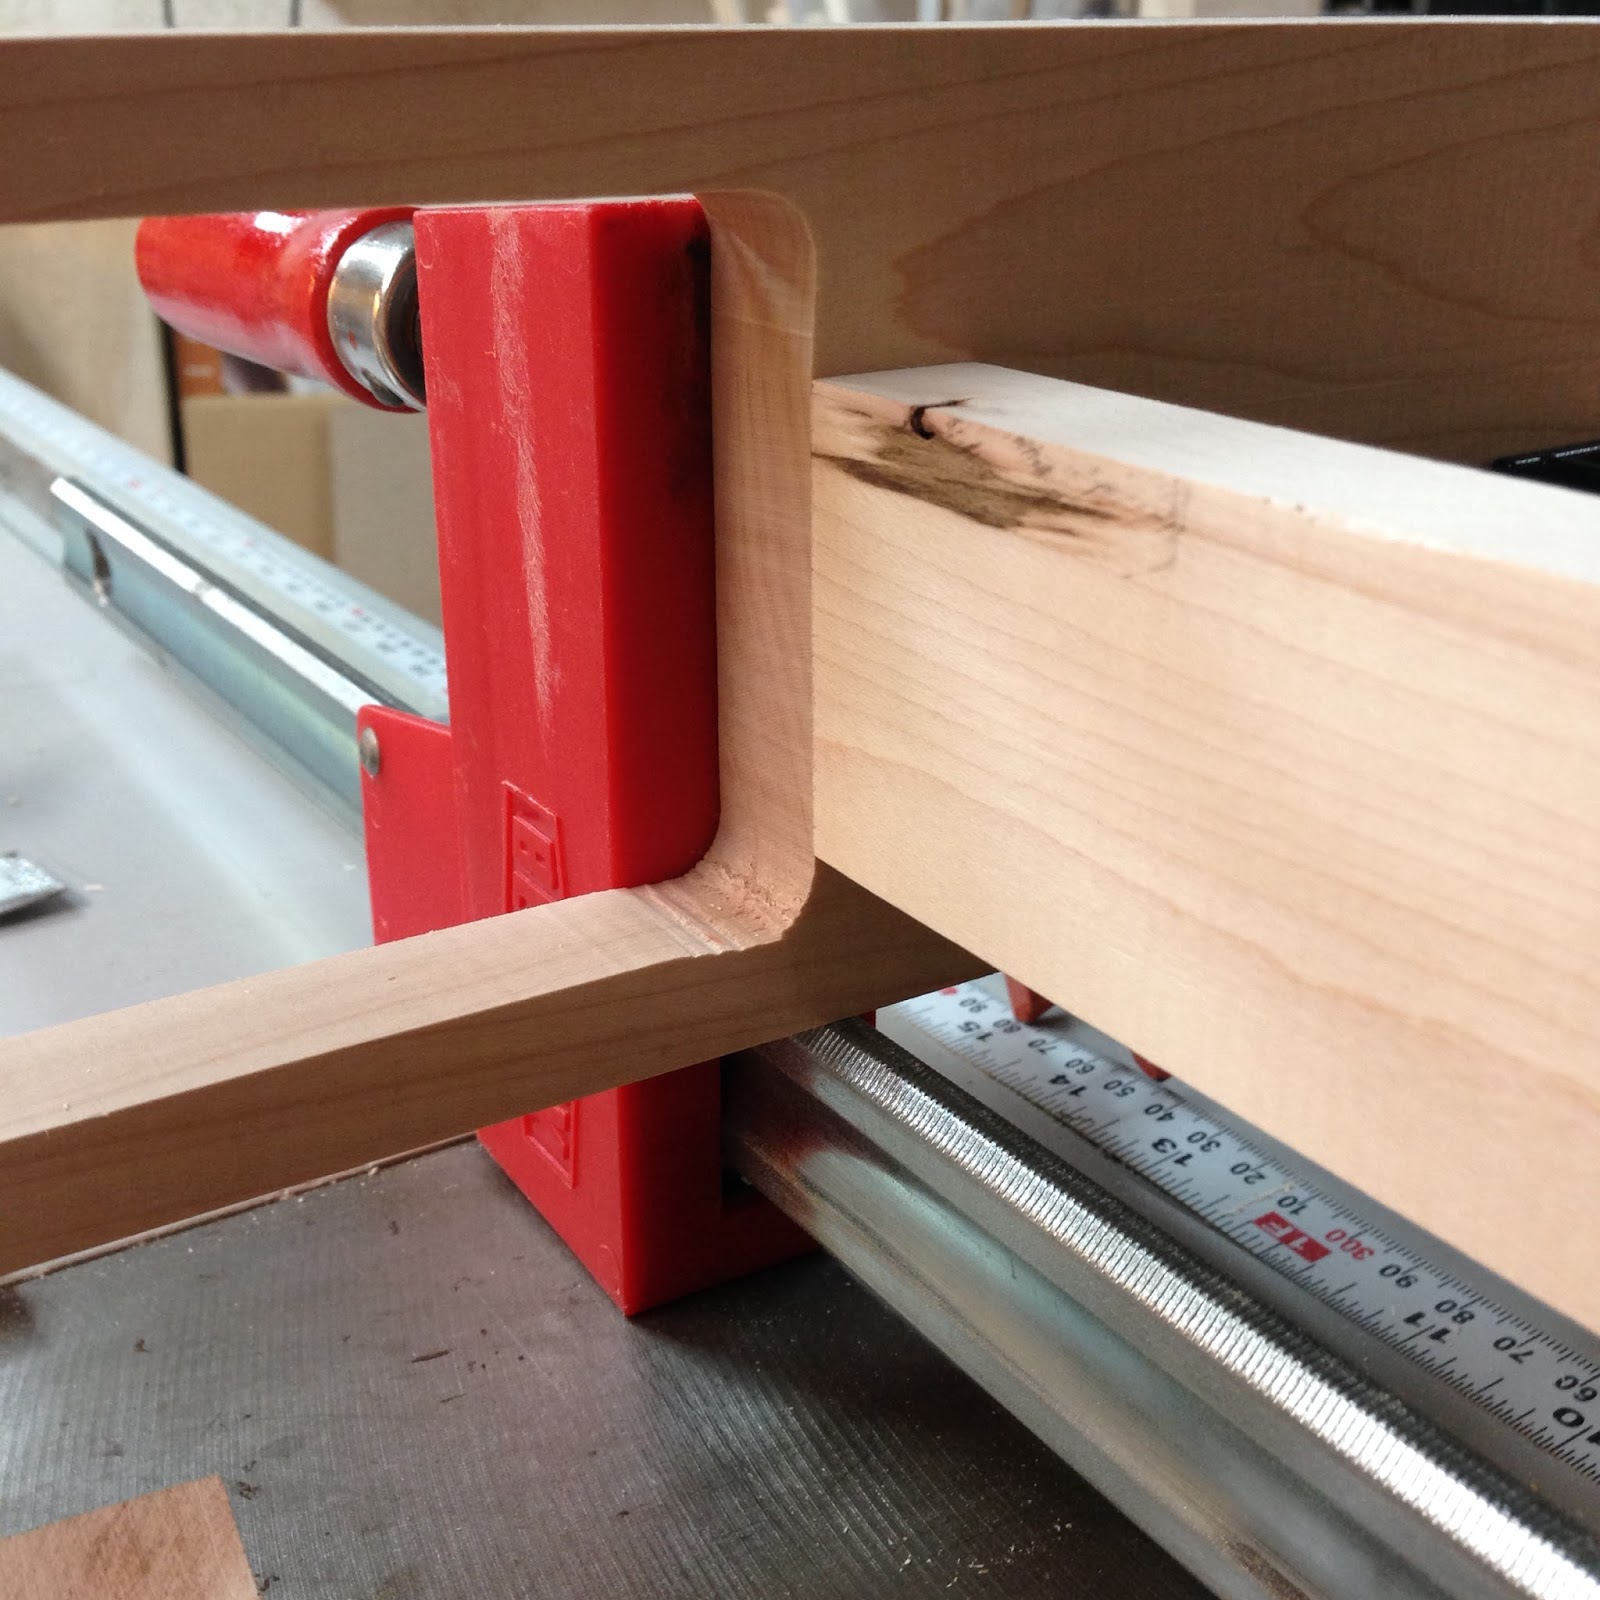
Below you can see a closeup of the stop-block I use so I can cut each of the four board to the exact size quickly. Just make sure you use a perfectly square piece of wood for a stop-block or your will not have the exact measurement you see on the guide.
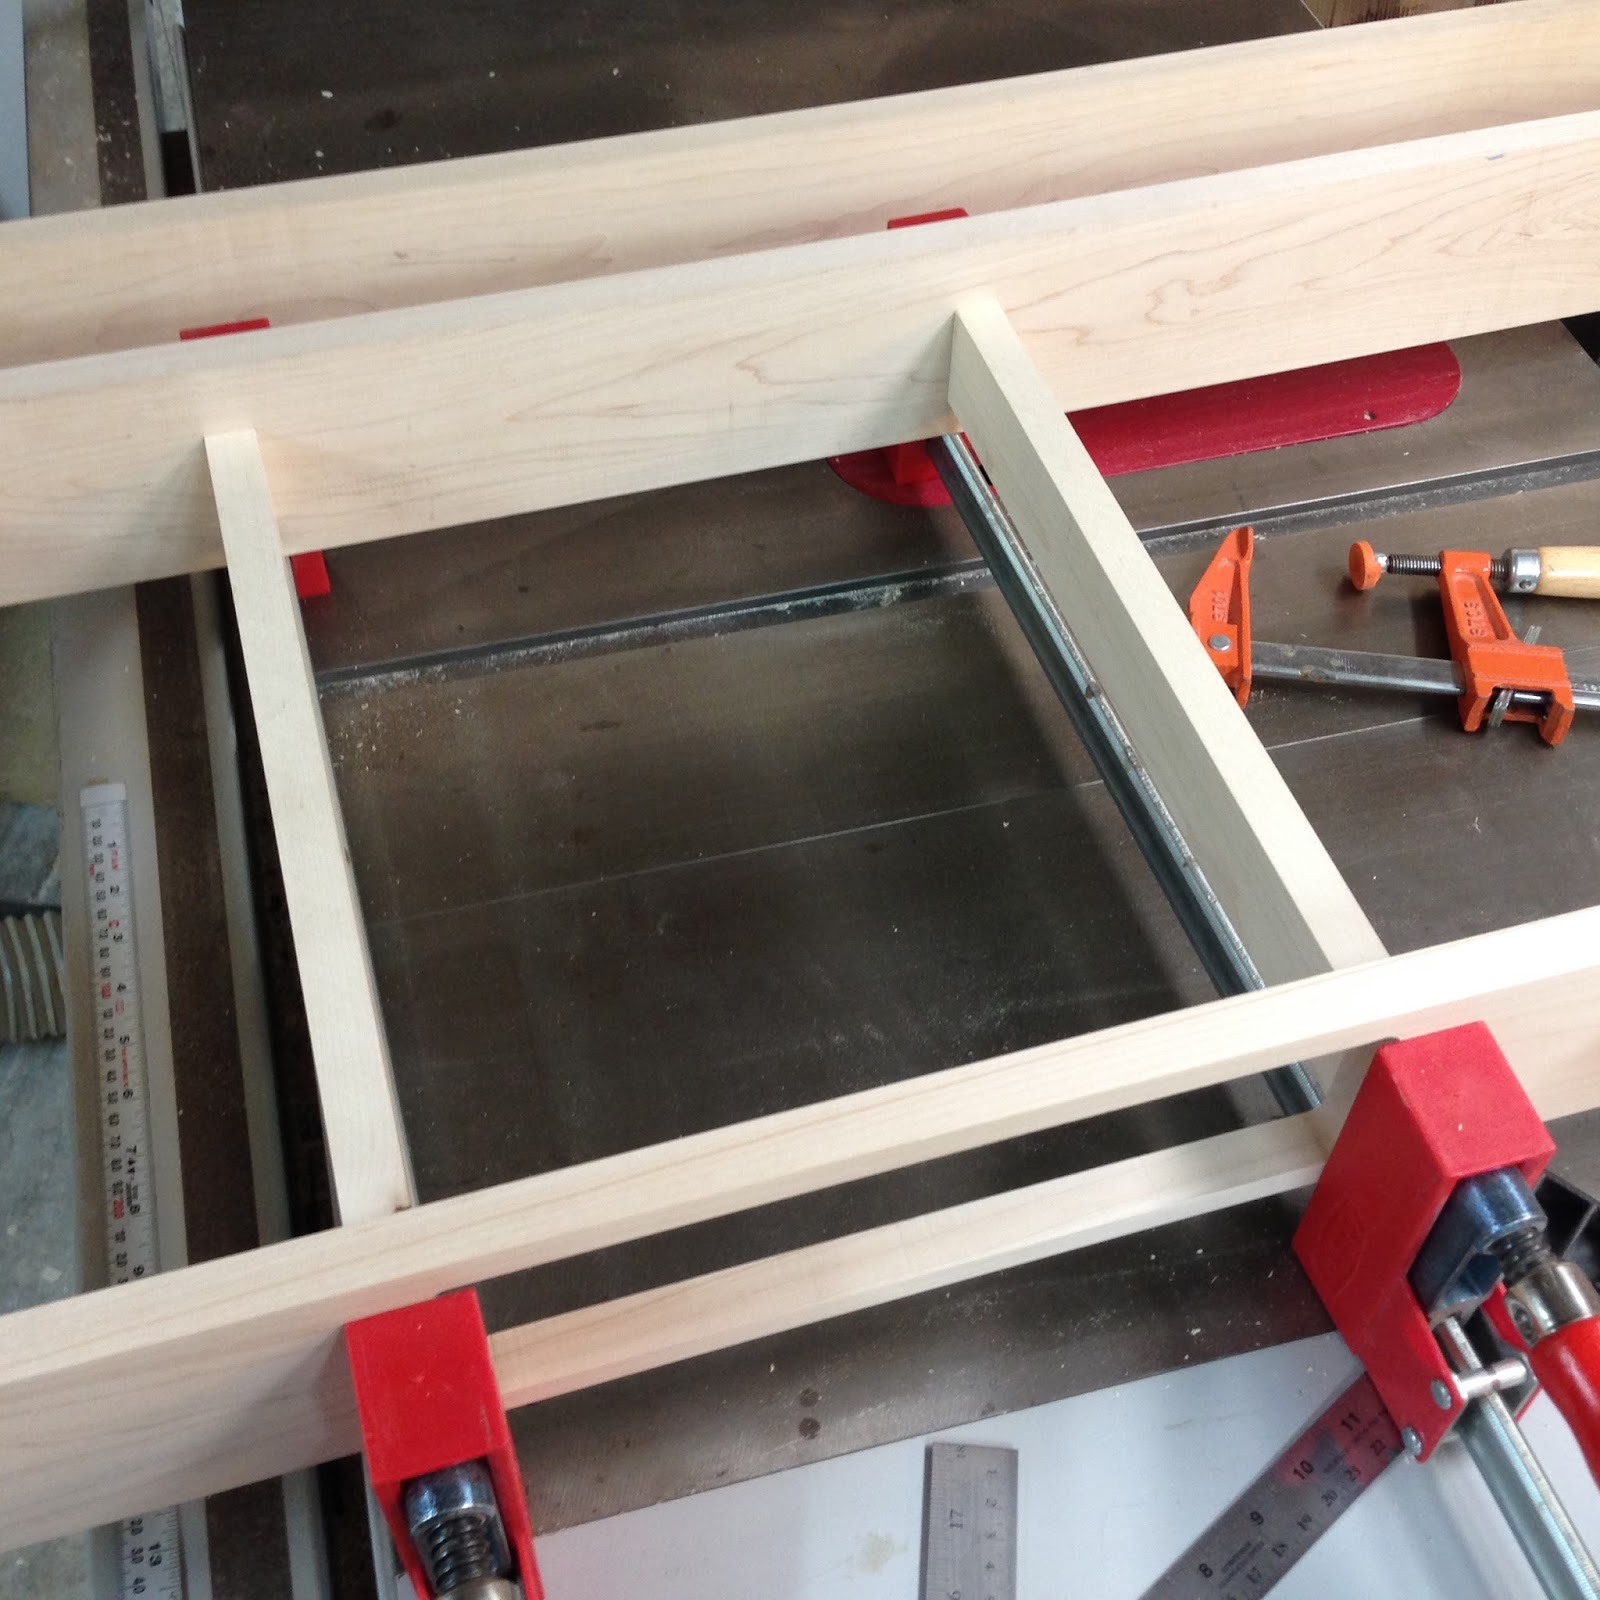
Below are the four boards cut to the 15-1/4" length.
Now we need to cut each of these four board right down the middle to give us the eight boards we need. Set your table saw to 1-15/16" and cut each board in half down the middle.
Here is the first board cut in half! The two pieces don't have to be exactly equal in height but should be as close as possible.
If you are happy with the cut go ahead and finish the other three boards, which should look similar to the photo below.
You can test fit one of the slides on one of the pieces. Just so you know which drawer slides I'm using here is a photo of the packaging. These slides were purchased at Home Depot for around $12 each. I really like these because they are strong, smooth and have a hold mechanism when closed all the way!
With these drawer slide support pieces we will be using the KREG pocket hold jig just like we did on the table frame. Not only does this make is easier to install them on the frame but they will be just as strong as if you glued them in place.
Follow the same steps as you used previously to drill the table frame. Since each board is about 2" wide you can make two drill holes for a really strong hold. Use the far right and left lines on the KREG to drill the holes as shown in the photo below.
CRITICAL: Again, make sure you drill on both ends of the board AND on the same face!
Below are all eight boards ready to be installed in the table frame!
Now we need to make a quick installation jig for when we install the piece so all [8] boards will be installed exactly the same every time! To do this you will set your table saw to 1-1/4" and rip one of your over stock pieces. Then cut it to a length of 15"; you want to be able to slide it back and forth on the slide piece when it is being installed!
Below is the installation jig piece cut to size!
To install the first piece slide it into place as shown in the photos below! It should be flush with the opening and centered in the middle "for now" because the jig will set it to the correct height!
The photo below show the jib ON TOP of the slide piece pushed down so it is level with the top of the table frame! You can use a rubber mallet OR another piece of flat wood to push down on the jig which will push the slide piece to the correct depth! Make sure you have a clamp in place so the slide piece doesn't keep sliding down all the way! You can tighten the clamp just enough so the slide piece will move but only but hitting with a mallet or by putting weight on the jig and pushing down hard!
The two photos below show each end of the jig and the slide pushed down to the correct height!
CRITICAL: Make sure you use some type of 90 degree square so the pieces are perpendicular to the face plate of the table frame! You can also check the measurement at both end against the edge of the table frame to make sure each of the ends are at the same distance.
Below you see the jig removed and the slide piece set in the correct position and at the correct 90 degree angle!
Again, make sure the slide piece is flush with the opening!
Only when everything is at the correct height, distance and depth... plus at the correct position, then and only then do you screw the piece to the table frame! Make sure you only use 1-1/4" KREG screws!
Below is the slide piece secured to the table frame!
Now let's install the second slide piece, which should be exactly 12 inches apart from the first slide piece.
Again, use the jig to push the second slide piece down to the correct height. Check both ends and make sure they are flush with the top of the table frame!
Below is the second slide piece secured in place by the clamp and set to the correct 90 degree angle. It's time to screw it into place!
CRITICAL: Again, make sure you have the piece in the correct position with the correct height, depth, and angle before you screw in even one of the screws!
Below are both slide piece screwed to the table frame and ready for the drawer slides! Just repeat the same steps above and install the other three sets of slide pieces!
Below is one side of the table frame complete!
And finally, the table frame with all slide pieces secured into place and ready for each of the drawer slides!
In the next POST we will cover installing the 14" metal drawer slides on each of the slide pieces; eight all together!