If you've followed along this far you're probably in for the long haul so thanks for that! In this post we will cover installing the metal drawer slides on the eight slide pieces you just installed in the table frame.
These metal drawer slides are perfect for this project because they are the 14" model, which fit nice a snug within the table, plus they are better than the white slides that have the wheel that rolls along a track.
Below is a photo of the slide and the packaging with the information so you can find the correct style of slide. I purchased my 14" slides at Home Depot for around $12 each and you will need 4 altogether.
You should have the table frame completed before you start, see photo below!
You will also be using the same jig you made for installing the slide pieces, this jig will be used to hold the 14" metal slide in place while you mark the holes and screw it to the frame.
Below you can see how the jig is placed underneath the slide piece with the metal slide placed on top of it.
Make sure you push the slide up against the inner face of the table frame. Below you can see how the end of the slide matches up with the inner SIDE piece of the table frame.
When you have the metal slide sitting in the correct position go ahead and make your pencil marks in the holes that are part of the main structure of the slides. You will notice that there are a number of holes you can choose from and I like to use the ones that are on the tabs so they have some give and allow for a draw that might not be wide enough to fit but the slide will move a little to compensate for the tighter gap.
NOTE: If you look close you can see the jig piece sitting underneath the metal slide holding it in place!
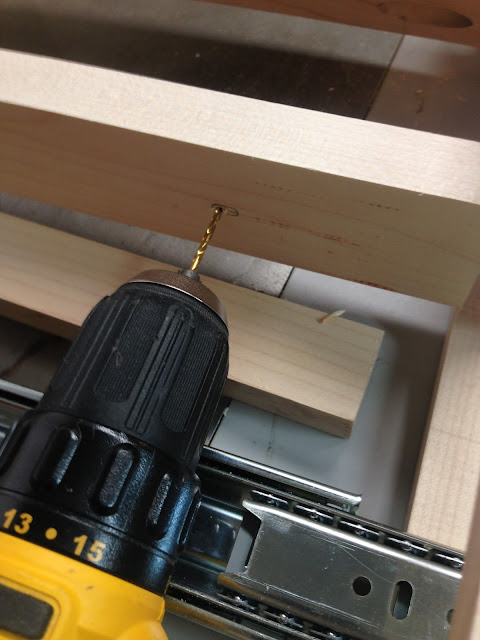
Once you have the holes marked go ahead and pre-drill the holes for the screws. The drill bit is sized 3/32" and you pre-drill the hole so it's easier to install the screw and not split the wood. It's near impossible to start a screw in hardwood without having a pilot hole first. You don't need to drill too deep, just the length of the actual screw!
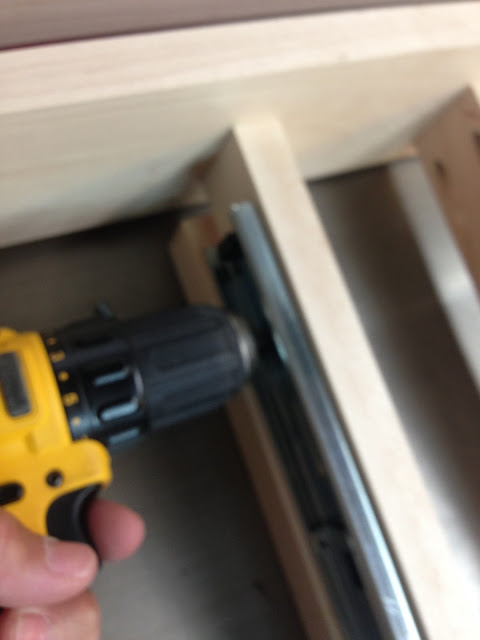
I use a hand screw driver to start the screw and then I go with an electric drill to finished the screw. You can get a tighter fit using an electric drill instead of trying to finished the whole thing with a hand screw driver.
Below are some photo of the slides in different stages of extension.
Below you can see two of the drawer slides installed and ready for the drawers.
Below is the final photo of the table frame with all the drawer slides installed and ready for the drawers to be installed.
Hopefully you didn't throw out any of the extra Birch plywood left over from the gaming board and table base. You will be using some of this leftover stock to make the drawers.


No comments:
Post a Comment